

Last Updated: 2018-01-15 01:53:18 (k73sk)
| Image | Description |
|---|---|
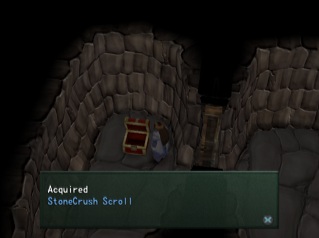 |
Inside the first doorway you encounter on the west side of the room. |
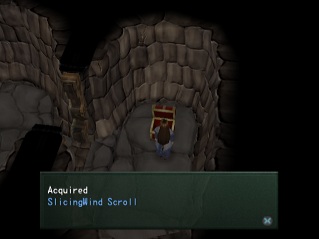 |
East side of the room from the above chest. |
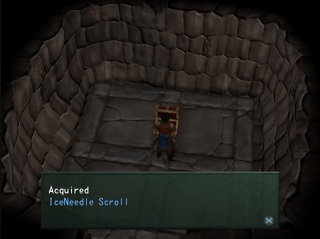 |
At the bottom of the stairs near the top two chests. |
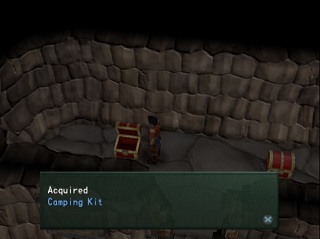 |
Follow the guide on Kabel Ruins page to find this chest after the above three scrolls. |
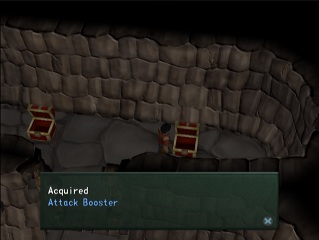 |
Next to the above chest. |
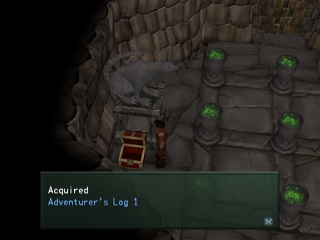 |
In the room with the 9 pedestals and fish picture. |
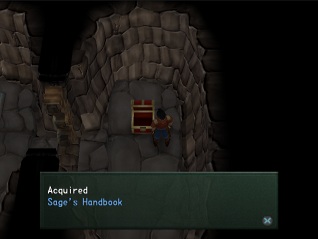 |
Read the guide on the Kabel Ruins page to get to this room with the chest. |
 |
Right after fighting Slogar, head north and the first entrance leads to this room. This is the left drawer on the desk. |
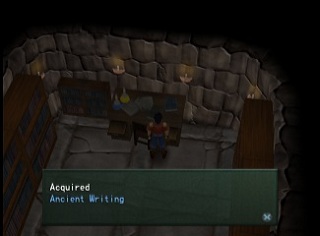 |
Right after fighting Slogar, head north and the first entrance leads to this room. This is the right drawer on the desk. |
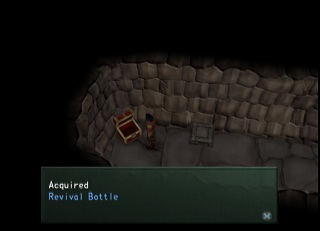 |
As you follow the path and blow your way through the statue skeletons, blow a wall in the western wall of the center statue to find this chest at the end of a hall. |
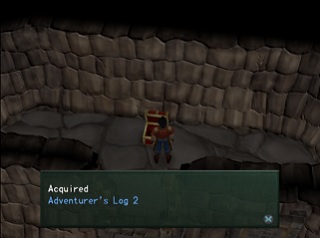 |
The next room has a puzzle that you need to complete to grab this chest. |
 |
After the room with the tortoise, head in the northern room to find this chest. |
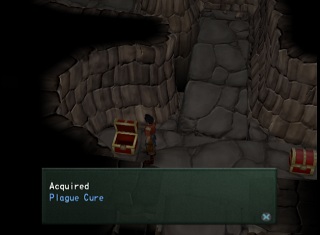 |
Finishing the clock puzzle to the far east, you'll find two chests leaving to the north. This is on the left. |
 |
Finishing the clock puzzle to the far east, you'll find two chests leaving to the north. This is on the right. |
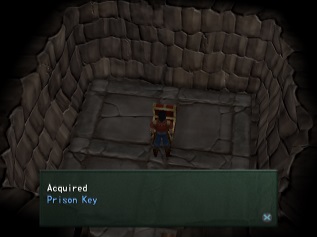 |
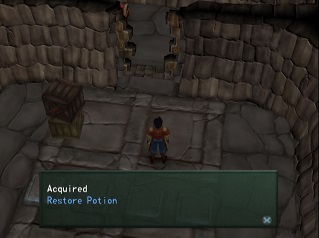
*AFTER* Sharon has joined the party and you head into the Kabel Ruins, the first chest (found down the stairs after the cutscene) will have the Prison Key. |
 |
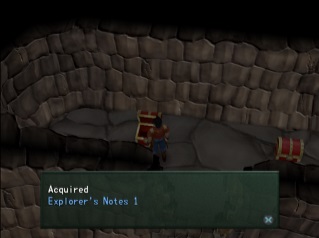
After the first puzzle has been solved, break the set of three boxes. |
 |
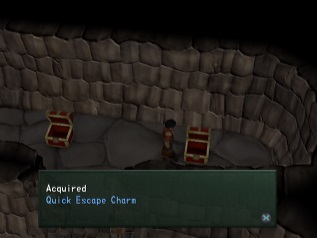
Open the chest to the left from the puzzle room with the 4 switches. |
 |
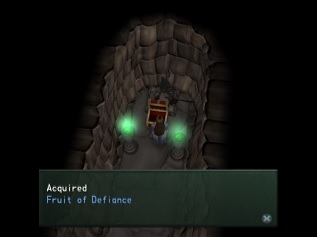
Open the chest to the right from the puzzle room with the 4 switches. |
 |
After exiting the above room, plow through the wall to the left, get through the Bone Warrior statues, and the chest will be to the northern part of the hall. |
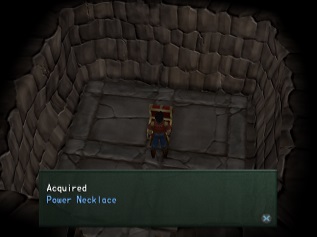 |
From the above chest, continue south until you reach the ladder. Drop down, go into the next room, and grab the chest. |
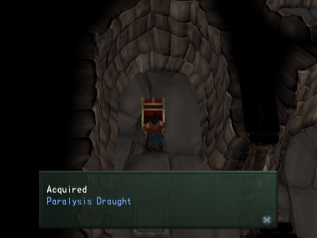 |
When exploring the Kabel Ruins, you'll find an "elevator"... Skip it, find a room with four switches in the center, and step on the left one to get the chest behind the door. |
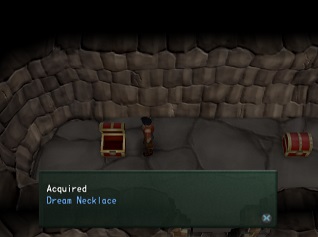 |
After gaining access to the northern room from the room stated above, open the left chest. |
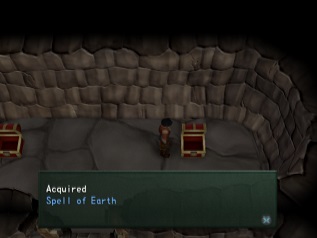 |
And the right chest from the room stated above. |
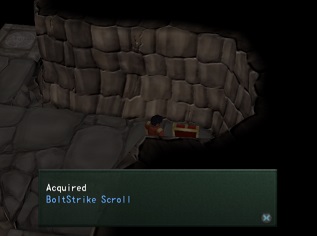 |
On the bottom of the elevator area, grab the chest on the right (past the platforms that Sharon rose). |
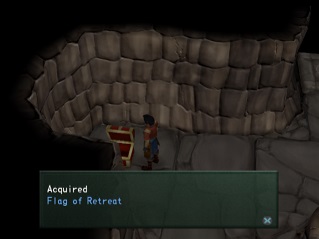 |
On the bottom of the elevator area, grab the chest on the left (past the platforms that Sharon rose). |
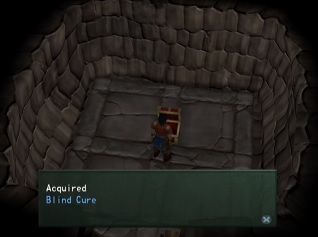 |
After going up the above elevator, you'll find this chest in the door straight ahead. |
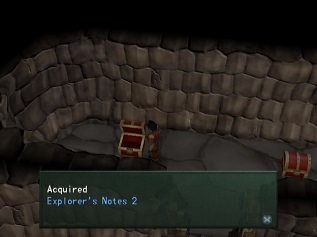 |
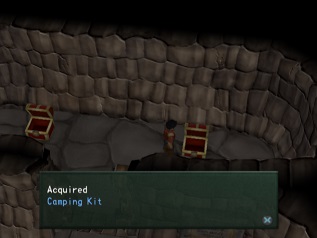
Following the trail mentioned in the Kabel Ruins page, you'll find this chest after solving the puzzle. |
 |
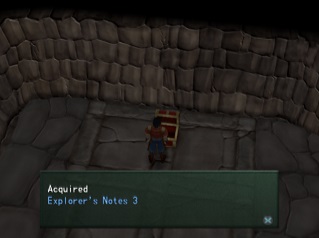
Same as above. |
 |
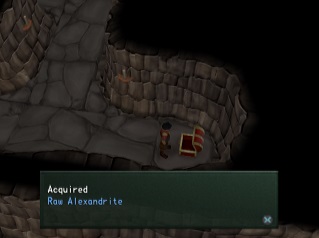
After solving the rainbow puzzle, head west, hit the switch with Arrode, and then go north until you enter the room with boxes. The goal is to get the dark box on the bottom of all three stacks, so use Galea twice on the center stack and once on the far right stack. |
 |
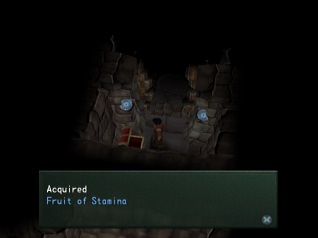
This is in the room with candles right before the room above. |
 |
Solving the puzzle south of the exit gate will open the door to this chest (to solve it, read Kabel Ruins page). |
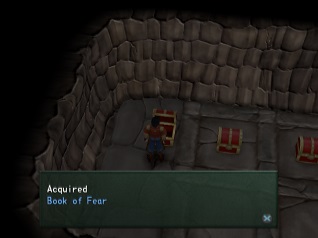 |
The final room to the west of the Kabel Ruins exit gate contains four chests. Here's #1 |
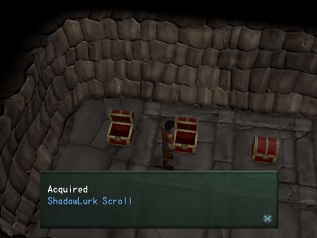 |
The final room to the west of the Kabel Ruins exit gate contains four chests. Here's #2 |
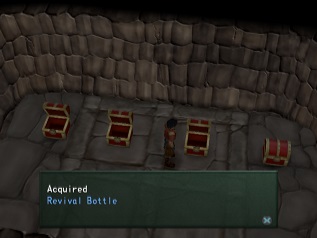 |
The final room to the west of the Kabel Ruins exit gate contains four chests. Here's #3 |
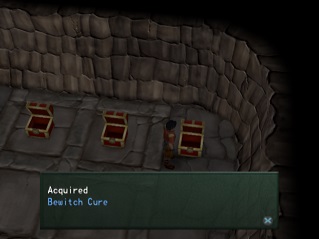 |
The final room to the west of the Kabel Ruins exit gate contains four chests. Here's #4 |